Thursday, November 17, 2011

Joy Fold Card


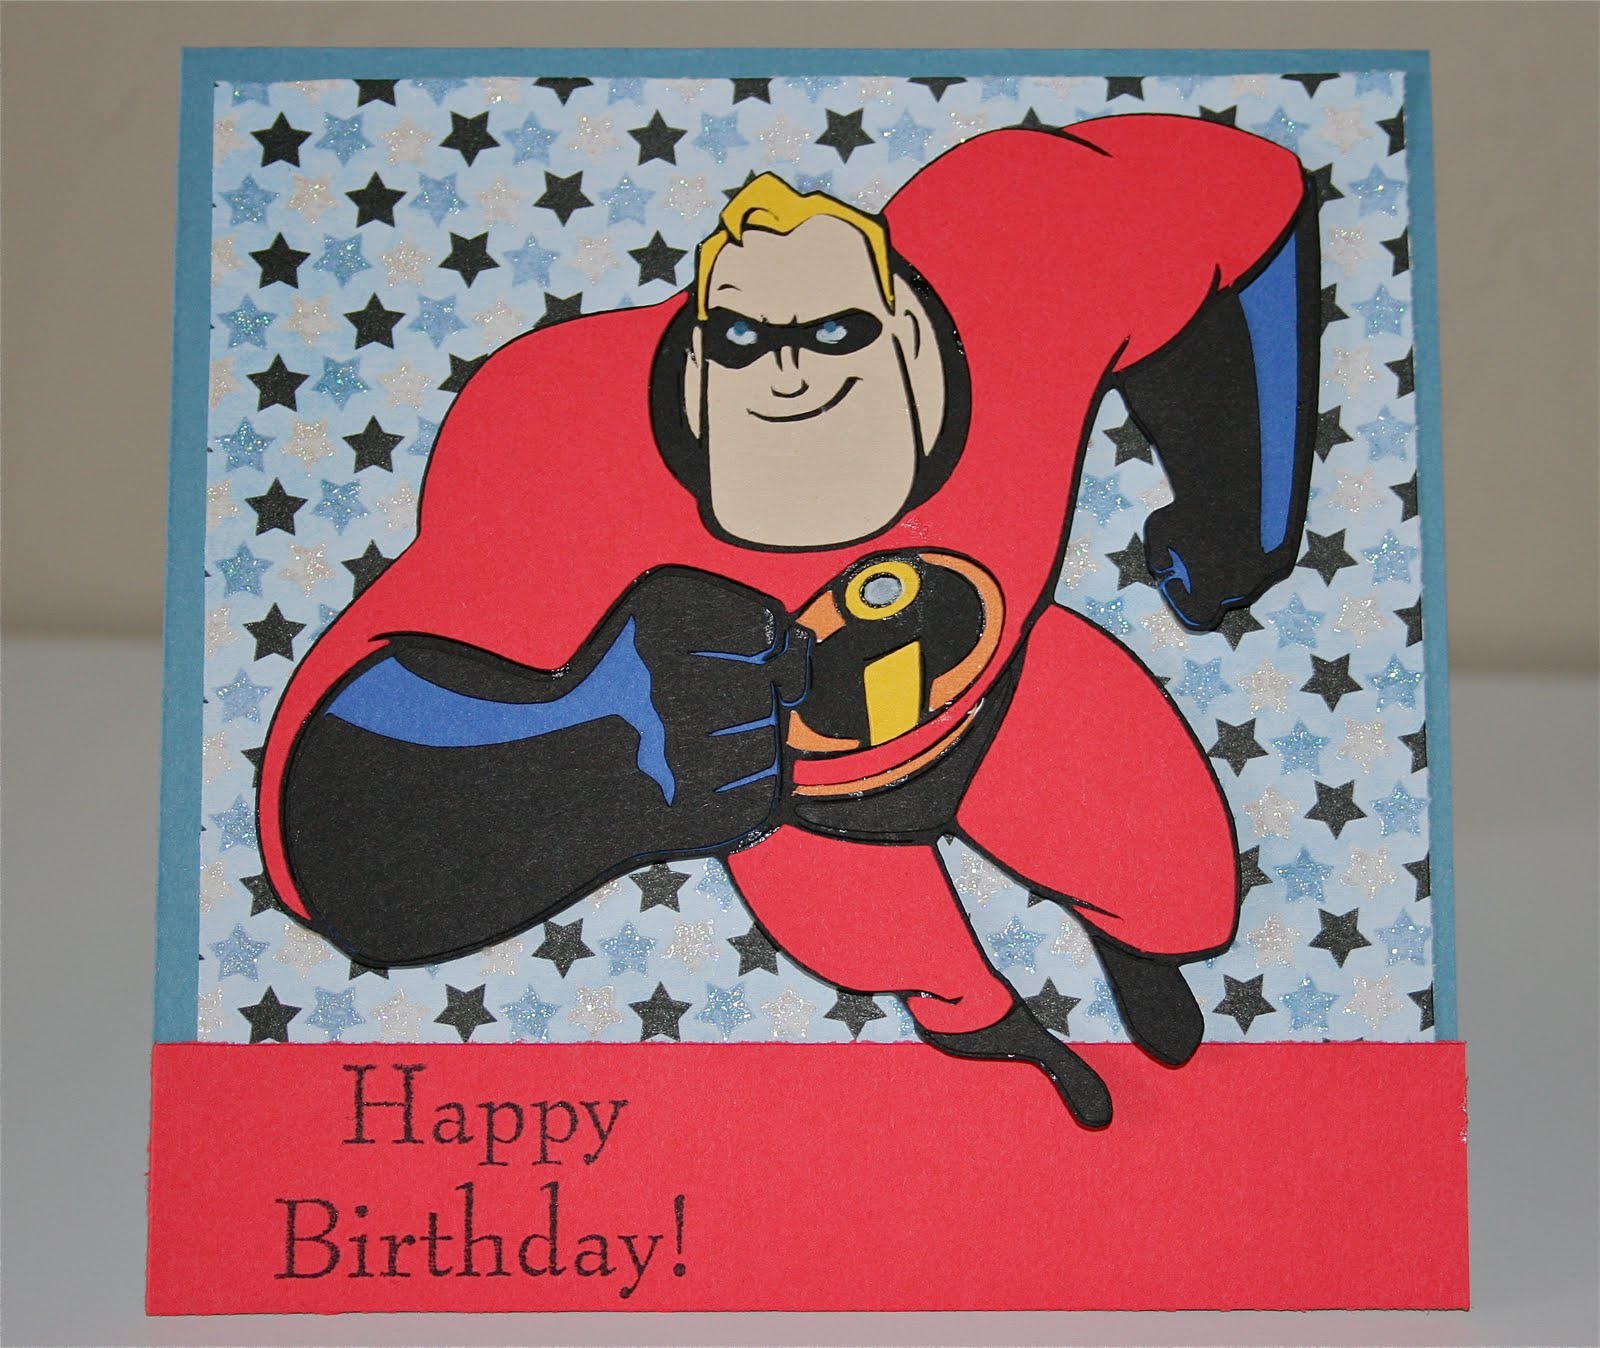
This week for our design team challenge we were challenged to make a card using a fun fold. I decided to do the joy fold since I have done a side step a few weeks ago. This fold is really easy. I really dont know why it is considered a fold though. Because really it is more like two cards just put together. If you want you can make this a different size I did this for a younger kid and I think the bigger the card the better for a kid. :) Ok so first if you have double sided paper that is the best I didnt so its a little more work. First cut a 12x6 and fold in half. next cut another piece at 4x8 and fold that in half. Next put some glue on the one side of the 4x8 and glue it to the other folded card. I then put a happy birthday dye cut I had that came with this paper and glued that on the front also a small flower. Last glue a ribbon around the card just right to where the 4x8 card ends so you can tie a bow but then still be able to open it. This was easy and way fun. Sometimes it is hard to read directions and totally get what to do so I think if you need any help youtube search for a joy fold and you will see just how easy it can be. You can also make it way more detailed its up to you. Have a great week!!!!


Tuesday, November 1, 2011

Inking It Up Design Team Project!!!!! Thankful!!!


This week for our design team project we are going to all do thankful projects. I am very thankful for all my friends and family and with such great friends and family you need lots of thank you cards. So for my project I did some very simple but beautiful thank you cards. They were fun and they will be great for about anything. I made a few different sizes as well because of this I will not put a recipe up for all of them so if you would like a recipe for one let me know it was very simple. just some cardstock, ribbon, and tape. :) I hope you all enjoy and really do something like this when you have some spare time. It is always nice to have a few thank you cards made already for when you dont have time to make one. :) enjoy the rest of your week because the holidays are coming and its going to get busy!!!


Friday, October 21, 2011

Halloween Treat box

Today for our design team project we were to make any halloween treat. This was a really fun project and I got to try something I have been wanting to try for a while. I used the Wrap it up cartridge for this box. I cut the box and the spider at 8.5 inches that is about as big as you can get it on a 12x12 mat but if you have a 12x24 then you could do it a little bigger. This box cut so easy and its not hard to figure out where you need to fold and glue.I really enjoyed making this box it was really easy and didnt take a lot of time so if you need to make a lot of them this is a good project for you!!!! Hope you all enjoy. Have a great weekend!!!


Tuesday, October 11, 2011

Friday, October 7, 2011

My Craft Spot Design Team Call !!!!

So I am trying out for the design team over at My Craft Spot. Wish me luck!!!! For my project I did a birthday card with one of my favorite disney characters. Thumper Is cut at 4 inch and my card is a 5x7. I also used a little ribbon for some more girly touch and pop dots and glitter. I really enjoyed making this card even though thumper was actually pretty hard to put together lots of small cuts. Well everyone wish me luck!!!!!


Cricut-less project

For my cricutless project I decided to do this cute dry erase board. It is so cute and one of the fastest and easiest projects I have done. First you just need to get a picture frame that you like. Next your favorite paper. Cut the paper to the size of the frame in my case it was 10x8. Place the paper inside the frame and use a dry erase marker to write on the front. That is it your done. Hope you all enjoy this.

Saturday, September 24, 2011

Wild and Fabulous Blog Hop!!!!!

Hey everyond welcome to my blog cricut crazy and the WILD AND FABULOUS Blog Hop!!! YAY!!!!! I am so excited your here hopping with us. Today we are sharing some super fun and super girly projects with you!

If you've come from visiting Melanie thanks for hopping along!! If you're just visiting and would like to start from the beginning you can go tohttp://www.inkingitupcrazy.blogspot.com. You will want to check out each blog for some great ideas and some sweet blog candy.


For my project I wanted it to be fun and wanted to use my new Tie the Knot cartridge. :) I made it for a bridal shower. I hope you all enjoy it because it was really fun to make. I started out with a red background of 4 1/2 x 6. The next layer I cut a quarter inch smaller on each side and attached some ribbon using robyn from my pink stampers cheater method. If you dont know what her cheater method is head over to her blog sometime and check it out I hated making bows till I saw this way she makes it so much easier. Next I cut out my image from the Tie the Knot cartridge at 3.5 inches. I used zig two way glue to put it together. Again if you have not heard of or tried zig glue you are missing out on one of the must haves of scrapbooking. Last I cut a small 2 x 1 paper and stamped the word celebrate on it and I used pop dots to attach the saying and image to my card. I hope you all will try this card or get creative and make your own wild and fabulous project. If you are new here check out my blog and if you like it become a follower. I always have lots of fun making new projects to post.

Your next stop is Cristi. Check it out and see what amazing projects she has to show you today!!!

Keep Hopping.....

Thursday, September 22, 2011

candys craft corner

Hey everyone head over to candys craft corner. She has had a blog makeover and is doing an amazing giveaway!!!!
candys craft corner giveaway

Thursday, September 15, 2011

Design Team "Least Used Cartridge" Project.


Hey Everyone, Hope you are all having a wonderful week. Today is a great day for me. Two years ago today I met my best friend and now husband. I love him so so much. Today the design team was challenged to make a project using are least used cartridge. I am using the Wrap It Up cartridge. I have a feeling I will be using this a lot more but I have had it and sometimes forget how great it really is. I found a video on youtube on how to make the side step card. Go there and search side step card this helped a lot on the measurements. I then cut the witch at 3 inches and the rest of them at 2.5. This was pretty easy and very fun. I cant wait to give it to someone for halloween. 


Thursday, September 8, 2011

Design Team Home Decor

Hey everyone hope your all having a wonderful week. This week the design team at inking it up crazy was challenged to do a home decor project. I decided to etch a pan. I have seen many videos on how to do this so I decided to finally try it. It was my cousins wedding this last weekend so I thought hey this would be a great wedding gift. I love the way it turned out. The picture is not the best but that was the hardest part getting a picture where you could see it. All you will need for this project is a glass baking dish, vinyl of any color it doesnt matter you will not be leaving it on the pan. You will also need a cricut and etching cream. So what you need to do first is decide what you want the pan to look like. For this pan I put my cousins and her new hubby's names and the date they got married but you can also do pictures like a snow flake for christmas ect. Once you know what you want to do cut it out of your vinyl and place it on your pan. Make sure you dont have any bubbles at least not around the letters. Once it is on the pan apply a nice layer of etching cream on and let it sit for about 30 min. I decided that the longer it sits the better so if you can leave it longer. Once it is done sitting wash off all the cream in the sink. Take off all the vinyl and your done :) It is super easy. Just be very careful not to get this on anything not even your hands. I did mine in the garage to be safe. If you want some help seeing exactly what I did go to youtube and just search glass etching with your cricut. There are a few videos on there. Hope you all enjoy the project. Also we are challenging you to do a home decor project of your own. If you would like to play along head over to inking it up crazy and link your project. Good luck.

Monday, September 5, 2011

Fish Cupcakes

Hey hope all of you had a wonderful weekend. I know I did. Every year my family has a shark party it is so fun.We swim,eat fish shaped foods and watch jaws or nemo in the pool.:) we have a blast. This year I made fish cupcakes and they turned out so cute. I made the cupcakes just from a box of funfetti and store bought frosting colored blue. I cut the cupcake wrappers from the cricut lite cupcake wrapper cartridge. I cut them at 2 inch. I also cut the fish from the create a critter cartridge and I cut them at 1 inch. I used zig two way glue to put the fish together and then a hot glue gun to glue the fish to the tooth picks. These were pretty easy they took a little bit of time but way worth it. The kids loved them.


Saturday, September 3, 2011

Scrapbook Page!!!

Man has it been a long time since I have had some time to work on scrapbooking. I just got some of my pictures from the wedding printed they turned out great thanks again to my amazing photographer and my mom for the amazing wedding. I hope you all like the page I put together and hopefully I will get more scrapbooking done soon. Have a great day  and look for a lot of fun projects to come this weekend. My family is having our yearly Jaws party!!!!


Wednesday, August 31, 2011

Inking it up crazy design team font project.

Hey hope you are all having a wonderful day. Here is a project I did for inking it up crazy design team. We needed to use a font cartridge or a saying from a cartridge. I used the prince charming saying from create a critter. I love the create a critter cartridge it is my favorite. It was just a simple card but I love it. Hope you all enjoy it as well. Also go check out all the other projects from the rest of the design team. They are great!!!

Tuesday, August 30, 2011

My First Blog Award!!!!

I recived this award from Jennifer Thank you Jennifer!!!


In order to formally accept this award I must answer the following questions...

Name your favorite color? Green
Name your favorite song? boys of summer
Name your favorite dessert? Anything with peanutbutter and chocolate.
What wizzes you off at the moment? I am trying to become a photographer so I wish I could do that all day instead of working!!!
Your favorite pet? My three dogs. Bella, Toby,and Oakley.
Black or white? Black
Your biggest fear? Public Speaking
Best feature? Always willing to help others.
Everyday attitude? Happy I am really always happy because why not?
What is perfection? I love Jennifers answer so I have to still hers a little. Disneyland with my family. Lots of food fun and crafting.
Guilty pleasure? Netflix. I have gotten into so many old shows like lost that I hadn't seen.
When you're upset? I talk a lot.
This award was fun because it allowed me to tell you a little about myself. Now time to award 6 more people.

1.Kristy
2.Pam
3.Yvette
4.Aymee
5.bugjunkie
6.Susan

Wednesday, August 24, 2011

Inking it up crazy design team Aug.

Hey everyone as some of you know I am a new member of Kassidys Inking it up crazy design team. I did this project to introduce myself. A little about me for those of you that this is your first time visiting my blog. I am newly married and loving every minute of it. We have a dog named Oakley and she is the funniest thing ever. She doesn't think she is a dog thats for sure. :) She thinks she should get everything a human does including human food a bed and she gets to brush her teeth every night. This is all due to my hubby spoiling her rotten!!! We just moved to Lehi UT and we love it here. There is a lot of farms around so we feel like we kind of live on a farm but we don't have to take care of it so that is really nice. We also own chickens. They are great too really fun. Not a lot of work and the fresh eggs everyday are to die for. Me and my hubby also both have pretty large families so we do a lot of stuff together its great. A few other hobbies I have are of course scrapbooking and crafting, dancing, singing,and hunting. I know weird a girl that hunts. I am also very in love with photography and I am trying to become a photographer. Well thats a little about me. If you enjoy my projects keep coming back I always have fun stuff. I am sure you will get to know me better. For my project I decided to do pluto from disneys mickey and friends cartridge because for one Disney is one of my favorite things ever, I love layered projects, and I love the disney cartridges because they are so challenging. I hope you all enjoy this and add as a follower so you can see all the fun projects to come.


Tuesday, August 23, 2011

Best Meatloaf Ever!!!

I made the best meatloaf last night and I had to share. If your like me whenever I am looking for a recipe I love pictures. So I feel bad now that I didnt take a picture but I promise I will next time. I found this recipe on allrecipes.com I think but I changed it a bit.
BBQ bacon cheddar meatloaf
1lb. Ground beef ( I used elk)
1 egg
1/4 cup milk
1 cup shredded cheddar cheese
1/2 cup bread crumbs
1/2 tsp. of each seasoning salt,oregano,and garlic powder
1/8 tsp. ground black pepper
4-5 strips of bacon
Mix all together except for bacon and form a loaf and then place 4-5 slices of bacon on top bake at 400 degrees for 1 hour.( if you do use elk bake for about 50 min. It bakes faster because it is so lean.)
next mix
5 tablespoons bbq sauce( I love sweet baby rays brand)
2 tablespoons brown sugar.
Place sauce on top of loaf after the hour is up and bake another 5 min.
Hope you enjoy this as much as me and my hubby did.

Friday, August 19, 2011

The Twinery Giveaway

Twinery

Hey everyone the Twinery is having a huge giveaway stop by and check it out!!!!

Sunday, August 14, 2011

Birthday sundaes and Peachy Keen Stamps !!!!!

So I didnt have a ton of time to do projects this week so I decided to put to challenges into one. I made a birthday card using brads for the birthday sundaes and then I also used the layout from the peachy keen stamps. I hope you all like it. I am also using this card for my grandma rebas birthday so lets hope she doesnt see it.


Pinkalicious Blog Hop Fun!!!!

So for my blog hop project I wanted to do a princess from one of my disney cartridges because disney is one of my favorite things. Disneyland, Disney Movies and Disney music. It is also my best friends birthday this week Sheena and guess what her favorite thing too is disney so I decided to make her a card using her favorite princess belle. So here it is hope you all like it.


Friday, August 12, 2011

Pinkalicious Blog Hop Tonight!!!!!!

Hey Everyone, Just a reminder that the Pinkalicious blog hop for this month is tonight. So come join the fun with cute projects, fun new ideas, and giveaways!!!! Hope to see you all there.

Monday, August 8, 2011

Challenge Me Monday!!!!

For challenge me monday. We were to make a project with a bug in it. So here is mine. I used Dot from best of pixar. I cut dot at 4.5 inches and used zig 2 way glue to put it together I used pop dots to put it on. Hope you enjoy this card.


Inking it up crazy Design team!!!!

Yay!!!! Great news I am now on Inking it up crazy design team. I am so excited. This is my first design team and what a great one to get to be on. Thank you Kassidy!!! Cant wait to start designing.

inkingitupcrazy.blogspot.com

Sunday, August 7, 2011

Birthday Sundaes

I love Sundays and I hate them at the same time. I hate them because that means I have to go back to work tomorrow already!!! So I know it has been a few days but its been a busy week. Here are two cards I did for the upcoming Birthdays in my family. First I did one using the minnie mouse from Mickey and Friends cartridge. I love this cartridge. I got it about a week ago and I am already thinking of tons of stuff I could do with it so I am sure you will see a lot more stuff with this. I made this card for my sister in law Mandy for her birthday tomorrow. So happy birthday again. I cut the minnie at 4 inches and the card at 5x10. Each layer after that I cut a quarter inch smaller. I used some cute ribbon at the top and put the minnie on with pop dots. I love love love pop dots. I dont know what I would do without them. The next card I did was for her son Gavin I cut the nemo for Best of Pixar. He turned out so cute. I cut him at 4 inches as well and put him on with pop dots. I cut the card at 10x5 and the next layer 9x4 I rounded all the corners with the martha stewart corner rounder. These cards were pretty simple took a little time and turned out great. I hope you have a wonderful Sunday and wish me luck tomorrow I have tried out for Kassidy's Design team from Inking it up. We will see if I make it!!! :)


Sunday, July 31, 2011

Lady Bug Birthday Invitations and birthday cards!!!

Hey happy sunday everyone. Hope you all had a great weekend. I know I did it was busy but a lot of fun.I did a lot of scrapbooking that I needed to get done and my brother came to visit for the day from las vegas. We also had a family reunion and of course today church. So here are a few projects I did this weekend. First are some little lady bug birthday invitations that I made for my friend at work LuAnn's granddaughter Bella!!! We saw the idea online and I decided that even though I didnt have a cartridge to do them that I could use one of my other cartridges and my gypsy and do them. So I used my serenade cartridge that had a circle but you could probably use any other one you have with a circle. I took different sized circles and place one to over lap the other and welded them together then I cut a large red one the size of my bottom black one for the lady bug body and cut it in half to make the wings. I then put a brad through the wings and body so that they would move. then cut lots of tiny ones for the spots this is how they turned out.


This next project I did was for my friend Jazmin she is having her baby on monday. Its a boy so I made a cute congrats card for her. I used my create- a - critter cartridge finally!!!! I had been waiting all week to finally try it out. I cut the monkey and vine out at 3.5 inch. I cut the banana out at 1 inch. I used zig two way glue to put the monkey together and my atg gun to tape him to the card. The card is cut out at 10x5. I folded it in half and put a cut ribbon around the top. I also used my new martha stewart corner rounder to round the corners on the card.


The next two projects are birthday cards one for my aunt Lisa and the other is for my cousin Devin. On my aunt Lisa's card I decided to use create-a-critter cartridge. I am just loving this cartridge they are simple layered projects but really pop and are so cute. I cut the owl at 4 inch. I put it together with zig two way glue. Next i cut  the pink card stock at 7x6 1/2 and the k&company meadow&breeze paper a quarter of an inch smaller on each side. I used my atg gun to tape the two together and used pop dots to put the owl on. I then used my martha stewart corner rounder on the corners. I was simple and way cute.


Ok so now for Devins card this turned out way cute but was probably one of the hardest cards I have made the Mr. Incredible was just so detailed and had very small cut outs. I cut him at 4 inchs and used zig two way glue to put him together. Then I cut a little blue card stock at 10 x 5 inchs and folded it in half the next layer with the star paper I cut a quarter inch smaller on each side. I cut the red at 5x1 inch. I then used my atg gun to tape all the layers together and lots of small pop dots to put Mr. incredible on. This is one of my favorite cards and if you are good with small cut outs you should try this card.


Last but not least I made this simple thank you card for my mom. She got me some really cute new shoes and she is in love with shoes that is where I got it. I cut the purple at 10x 5  the green a quarter inch smaller and the shoe paper a half inch smaller. I ran the green through my cuttlebug and used my atg gun to tape them all together and put the ribbon on as well. I then cut the shoe from the gypsy wanderings at 3 inchs and used a pop dot to put it on the card. She loved it and it was very simple.


Well that is all of it. I had a great weekend doing all of these projects. I hope you enjoy them and enjoy your sunday!!!!!